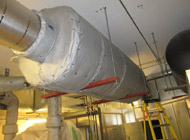
Altering Your Removable Insulation Blankets – When to do it, How to do it – Part 1
On-Site Alterations – Making Blanket “Cut Outs”
Fortunately, there is a way out. Although certainly not ideal, removable insulation blankets can be modified to a certain extent once in the customer’s hands.
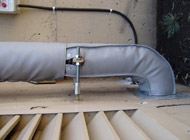
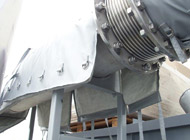
One of the more common situations is the need to make a ‘cut-out’ in the blanket, either to create a slit to fit around a support bracket, or to create a hole to allow access to a protruding part.
For these situations, Firwin has a step by step guide to help the novice in the field make the necessary adjustments. We would like to emphasize that these instructions are only to be used in ‘pressing need’ situations, ideally by personnel who have experience working with insulation products :
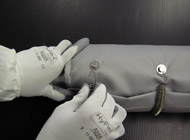
Insulation Blanket Alteration – Cut-Outs with ‘Hog Rings’
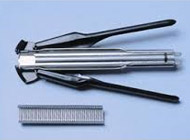
To perform the following alteration, you will need a cutting tool, along with a ‘Hog Ring Tool’ and accompanying hog rings. Here is a link to the type of Hog Ring pliers we are referring to : https://www.amazon.com/Bostitch-Hog-Ring-Plier-Stapler/dp/B0007LL2RM ![]()
[Note: If you are really in a bind and cannot access a Hog Ring Tool, a regular stapler and staples (preferably heavy gauge) can suffice as well].
If the inner layer of the blanket is wire mesh, as opposed to fabric, you may also need a pair of wire cutting scissors.
How to Properly Make a Blanket Cut Out
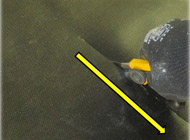
- STEP 1 – CUT STRAIGHT THROUGH ALL LAYERS OF FABRIC AND INSULATION.
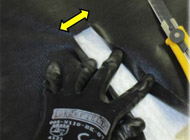
- STEP 2 – CUT ACROOS THE TOP TO FORM A ‘T’ SHAPE. FOLD BACK TO EXPOSE INSULATION. THE INNER FABRIC WILL NEED TO BE CUT THE SAME WAY.
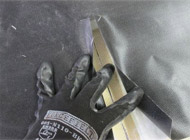
- STEP 3 – CUT AND REMOVE INSULATION TO ALLOW SPACE FOR FABRIC SEAMS.
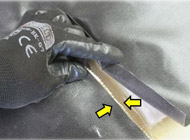
- STEP 4 – SQUEEZE TOGETHER THE INNER AND OUTER FABRIC.

- STEP 4 – SQUEEZE TOGETHER THE INNER AND OUTER FABRIC.
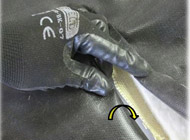
- STEP 5 – FOLD OVER BOTH LAYERS OF FABRIC.
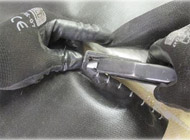
- STEP 6 – USE HOG RING TOOL TO INSERT HOG RINGS INTO FABRIC TO HOLD THE NEWLY FORMED SEEM TOGETHER.
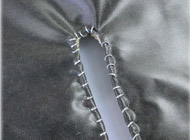
- STEP 7 – FINISH BY INSERTING HOG RINGS ALL AROUND OPENING.
Conclusion
As we discussed above, Firwin’s removable insulation blankets are custom-manufactured to fit a component, and that includes taking into account any brackets or protrusions that may exist. However, unexpected surprises can occur, and there can be situations where a person finds himself onsite, with a blanket that cannot install properly because of a support bracket or other protrusion. Sometimes there is no alternative but to get a replacement blanket made up. However, in certain instances, there does exist a method where a customer can make the adjustments in the field himself. Our customer service team is of course available to assist.
Other Articles: Clean Water & Removable Insulation Blankets – Vibration Control, Responsible Exhaust System Design, Firwinie is back!

